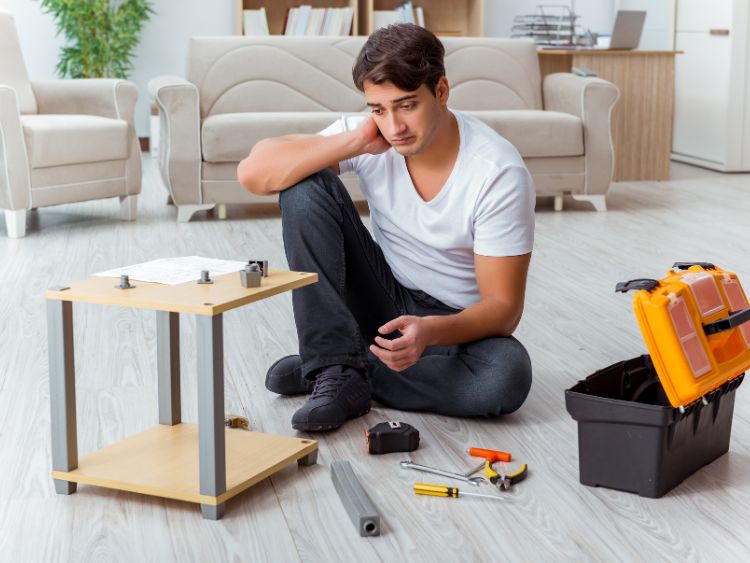
So, you’ve just ordered a sleek new set of office furniture—fantastic! But now comes the daunting part: assembly. If you’re like most people, the thought of piecing together desks, chairs, and cabinets can be overwhelming. Fear not! With a little guidance, you’ll have your office looking sharp in no time. In this article, we’ll walk you through everything you need to know about office furniture assembly, providing tips, tricks, and insights to make the process as smooth as possible.
Why Assemble Your Office Furniture?
Assembling your office furniture has numerous benefits. Firstly, it can save you a significant amount of money. Professional assembly services can be costly, and by doing it yourself, you can allocate those funds elsewhere. Additionally, assembling furniture can be a rewarding experience, giving you a sense of accomplishment and control over your workspace setup. Plus, you’ll gain a better understanding of your furniture, which can be handy if repairs are needed down the line.
Essential Tools for Office Furniture Assembly
Before you dive into assembling your new office furniture, make sure you have the right tools on hand. Here are the essentials:
- Screwdrivers: Both flathead and Phillips head screwdrivers are typically needed.
- Allen Wrenches: Often included with the furniture but having a set can be helpful.
- Hammer: For securing nails and pegs.
- Rubber Mallet: Useful for gentle taps to align pieces without causing damage.
- Power Drill: Speeds up the process, but be cautious with torque settings to avoid stripping screws.
- Measuring Tape: Ensures everything is aligned and properly spaced.
- Level: Helps in achieving a balanced setup.
Having these tools at your disposal will streamline the assembly process and help avoid unnecessary frustration.
Step-by-Step Guide to Office Furniture Assembly
1. Unbox and Organize
First things first, unbox all the components and organize them. Lay out all the pieces and identify them according to the instruction manual. This will make it easier to find what you need as you go along.
2. Read the Instructions Thoroughly
It might seem obvious, but many people skip this step and pay the price later. Carefully read through the entire instruction manual before you start. This will give you a clear overview of the process and help you anticipate any tricky parts.
3. Start with the Basics
Begin with the simplest components. This often means assembling smaller parts like drawers or shelves first. It’s a great way to get a feel for the assembly process and build confidence as you progress to more complex sections.
4. Follow the Sequence
The order in which you assemble your furniture matters. The instructions are usually laid out in a specific sequence for a reason. Follow this sequence closely to avoid having to backtrack or disassemble parts to fix mistakes.
5. Secure Fasteners Properly
When it comes to screws, bolts, and other fasteners, ensure they are tightened securely but not over-tightened. This is especially important with wooden furniture, as overtightening can strip the wood or cause it to crack.
6. Check for Stability
Once you’ve assembled the main components, double-check everything for stability. Wiggle each part to ensure nothing is loose. If something feels unstable, go back and tighten the fasteners.
7. Final Adjustments
Finally, make any necessary adjustments. This includes leveling the furniture, aligning drawers, and ensuring doors close properly. These small tweaks can make a big difference in the overall look and functionality of your furniture.
Common Challenges and How to Overcome Them
Missing Parts
It’s not uncommon to discover missing parts during assembly. If this happens, contact the manufacturer immediately. In the meantime, check if you can proceed with other sections of the assembly.
Misaligned Holes
Sometimes, the pre-drilled holes don’t align perfectly. In such cases, don’t force the pieces together. Instead, gently adjust the parts until they fit. If necessary, use a small drill to slightly widen the holes.
Stripped Screws
If a screw gets stripped, it can be difficult to remove or tighten. Using a rubber band between the screw and the screwdriver can provide extra grip and help you remove it.
Tips for a Smooth Assembly Experience
- Work in a Spacious Area: Ensure you have plenty of room to spread out the pieces and move around comfortably.
- Take Breaks: Don’t try to rush through the assembly. Taking breaks can help you stay focused and avoid mistakes.
- Get Help: Some pieces might be too heavy or cumbersome to handle alone. Having an extra set of hands can be very beneficial.
- Stay Organized: Keep all screws, bolts, and small parts in labeled containers to avoid losing them.
FAQs
How long does it take to assemble office furniture?
The time required can vary depending on the complexity of the furniture and your experience level. A simple desk might take an hour, while a more complex setup with multiple pieces could take several hours or even a day.
Do I need professional help for assembly?
For most office furniture, professional help is not necessary. However, if you’re not comfortable with tools or the instructions are unclear, seeking professional assistance might be worth considering.
What should I do if I lose a piece during assembly?
If you lose a piece, contact the manufacturer. Many companies can send replacement parts. In the meantime, keep the assembly area organized to prevent further losses.
Can I assemble furniture without power tools?
Yes, but power tools can make the process faster and easier. Just be sure to use them carefully to avoid damaging the furniture.
Summary
Assembling office furniture might seem like a daunting task, but with the right tools, a bit of patience, and this comprehensive guide, you’ll be able to tackle it with confidence. Remember to take your time, stay organized, and don’t hesitate to ask for help if needed. Soon enough, you’ll have a beautifully assembled office space ready to boost your productivity.
For more information and resources on office furniture assembly, visit these authoritative sites:
Happy assembling!

